The Short Answer: How Is PPF Installed?
PPF (paint protection film) installation depends less on the film itself than on the preparation underneath it and the environment it is applied in. The industry-standard workflow has five stages: surface preparation, paint measurement, cutting, wet application and inspection. At Peak Detailing's studio in Sarıyer, Istanbul, every car goes through the same five stages regardless of scope; below is what each step is, why it is done and how long it takes.
Panel preparation → digital paint-thickness measurement → precision cutting and edge wrapping → application in a dust-free booth → inspection under light and a written warranty document. Bonnet usually same day, front end 2 days, full body 2–3 days. Slight haze under the film is normal for the first 48–72 hours; no washing for 7 days.
Before Installation: Inspection and Booking
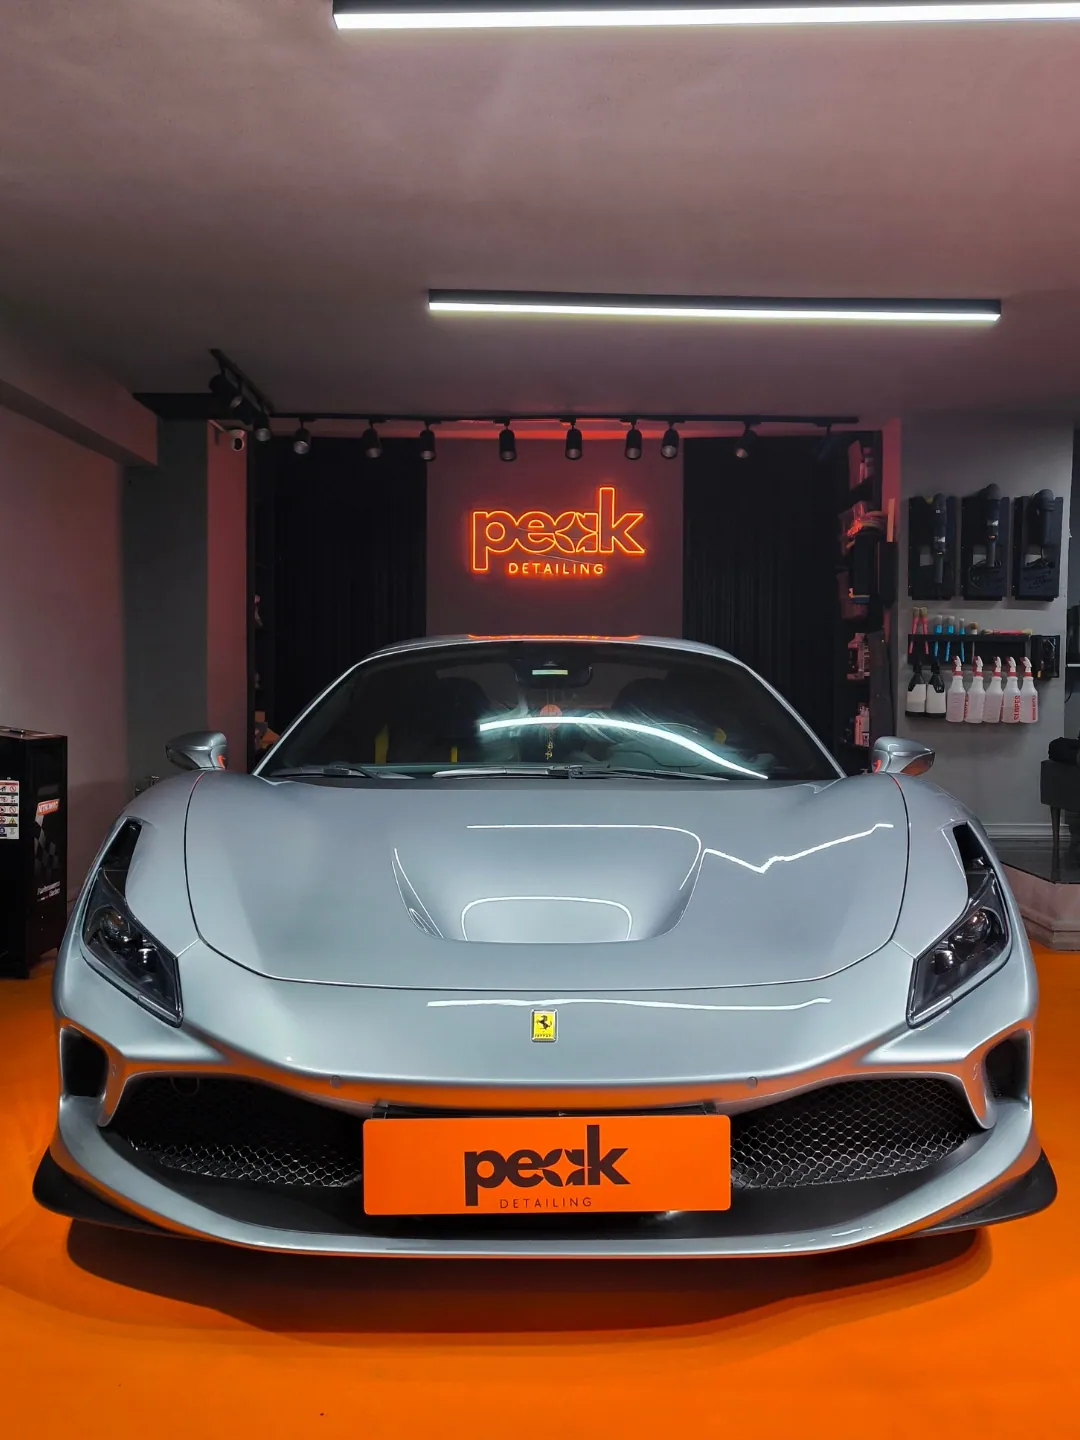
The process starts at the inspection, not in the booth. The condition of the paint, any repainted panels, the scope (bonnet, front end or full body) and the film series are settled here. Peak Detailing installs ORAGUARD® (ORAFOL) TPU film as standard: PPF 2615 GF+ at 185 microns (≈7.3 mil), PPF 2715 GF+ and 2815 GF+ at 200 microns (≈8 mil); the same series are available as MF+ matte versions. The inspection is free of charge, and the estimated delivery day is agreed at the same meeting.
The most common decision made at inspection is this: if the paint carries deep scratches, holograms or oxidation, the film does not hide them — it locks them in. In that case paint correction is assessed first. Package and price selection are outside the scope of this article; see the PPF prices 2026 guide for current ranges.
The PPF Installation Process: 5 Steps in the Studio
The sequence below is the installation standard published on Peak Detailing's PPF service page. Under each step, the technical reasoning that applies across the industry is summarised.
- Panel preparation. The panel is first washed to remove loose dirt, then clay-barred and chemically decontaminated to lift embedded iron particles, tree sap and tar. Finally, oil, protective wax and silicone residue are wiped off with a dedicated surface cleaner — ORAFOL's processing instructions for ORAGUARD® state that wax and polish residue must be removed with a silicone remover, and that isopropyl alcohol alone is not sufficient. A single speck of dust trapped under the film stays visible for years, which is why preparation is the longest part of the job.
- Digital paint-thickness measurement. Every panel is measured with a digital thickness gauge to identify localised repaints, touch-ups and filler. On factory paint the film is applied with confidence; on repainted panels or weak clear coat the decision is made panel by panel, and a panel is excluded if necessary. This measurement is also what keeps the paint safe when the film is removed years later; details in Is PPF harmful?.
- Precision cutting, edge wrapping. The film is cut on a computer-controlled plotter from car-specific patterns; the blade never touches the paint. No single template is forced onto the whole car — the most suitable cutting method is chosen for each panel's shape. Edges are wrapped wherever the panel allows: the film ends inside the panel gap, not on the visible face. This reduces both the visible edge line and the risk of edge lifting.
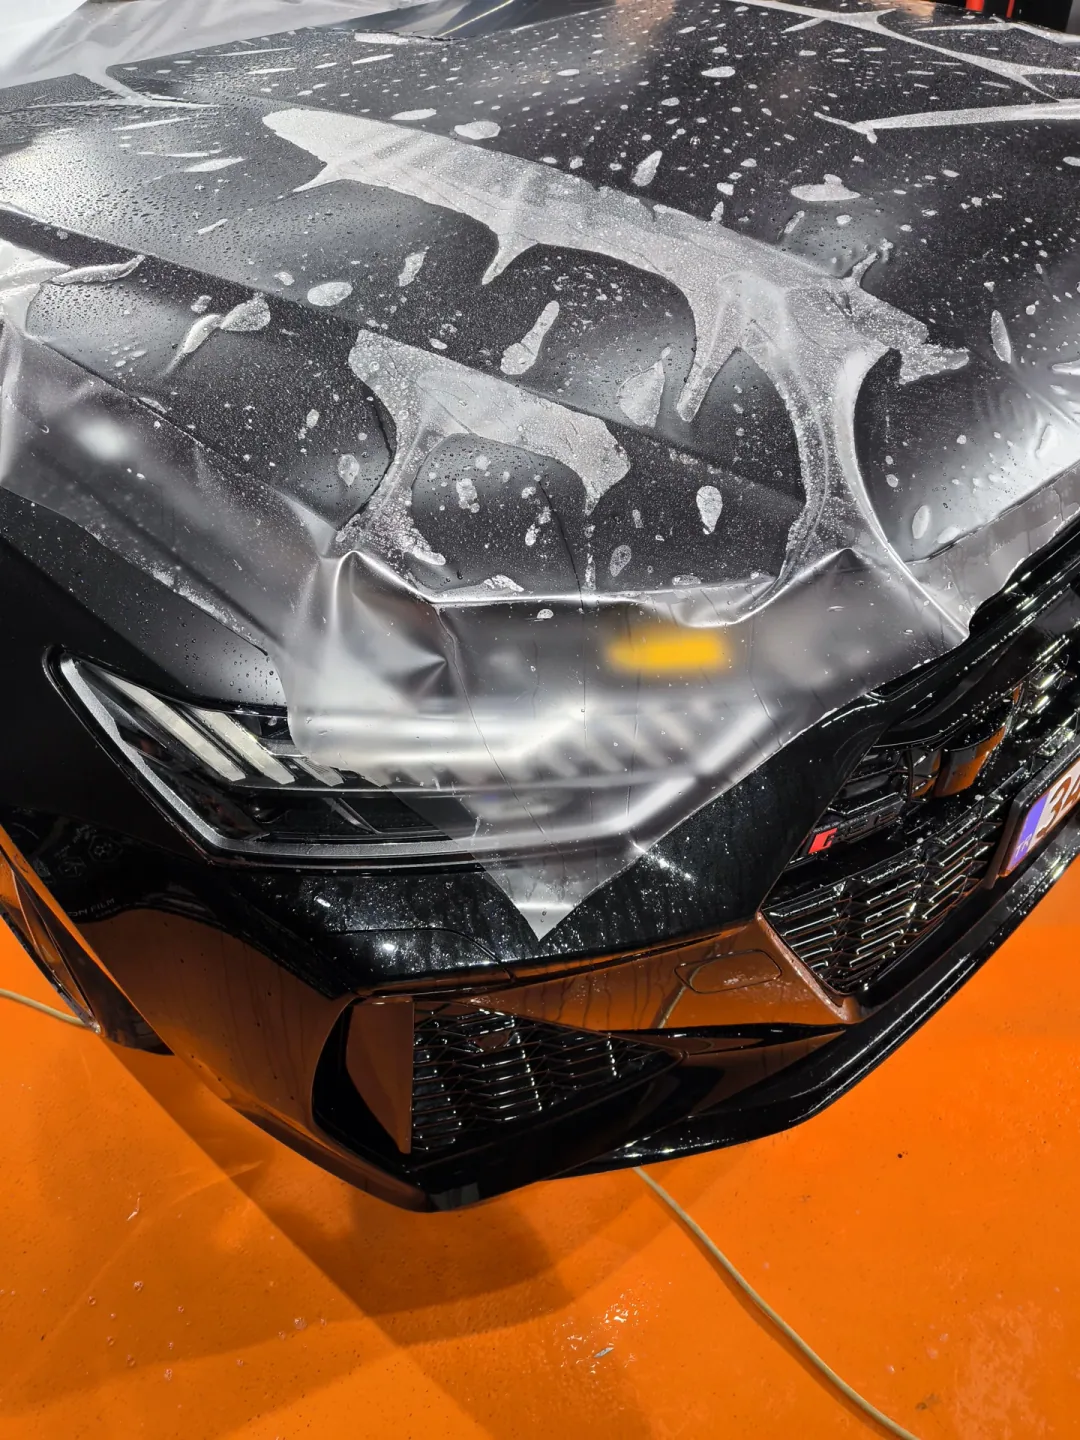
- Application in a dust-free booth. The film is applied in a closed, climate-controlled, dust-free booth using the wet method: the adhesive side and the panel are sprayed with slip solution, the film is positioned, then squeegeed from the centre outward to push the solution and air out from underneath. On curved areas such as bumper corners, mirrors and headlight surrounds the film is shaped with controlled heat from a heat gun; the edges are set with tack solution. ORAFOL defines the ideal indoor climate for ORAGUARD® as 18–22 °C (64–72 °F) at 40–50% relative humidity and ties wet application to ambient temperatures of +18 °C (64 °F) and above; the booth exists precisely to hold that condition.
- Inspection under light, written warranty. Edges, surface and tension are checked under light: bubbles, trapped particles, edge gaps and stress marks are looked for and corrected where needed. The car is handed over with a year-based written warranty document; a sample document and its scope are shared at the booking.
Plotter Pre-Cut or Bulk (Hand-Cut) Installation?
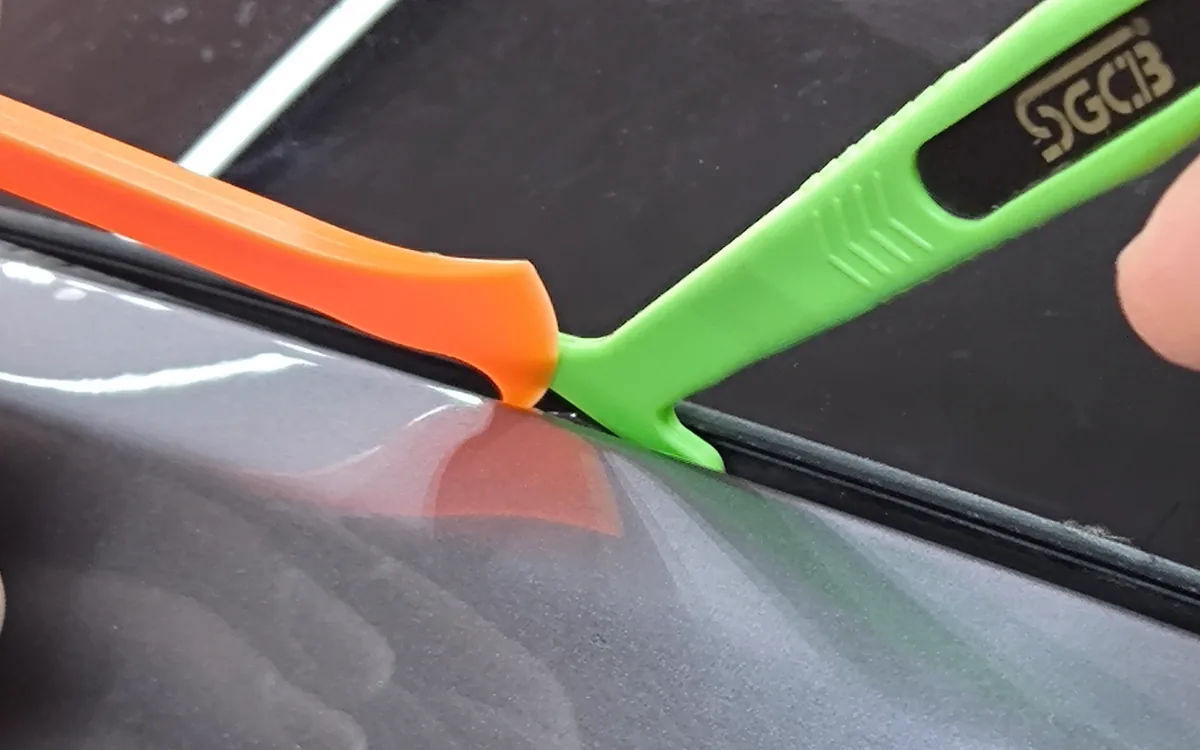
The industry uses two cutting approaches. In plotter cutting the film is cut by a computer-controlled cutter from a car-specific digital pattern; the blade never touches the paint and panel boundaries are repeatable. Pattern databases are the backbone of this method — XPEL's DAP library, for example, holds more than 80,000 cutting patterns. In bulk installation the film is laid over the panel and the edge is trimmed with a blade on the car; it allows more edge wrapping, but the risk of the blade touching the paint rests entirely with the installer.
Peak Detailing's approach combines the two according to the panel's shape: the required parts are plotter-cut from car-specific patterns, no single template is forced onto the whole car, and edges are wrapped wherever the panel allows. In both cases the blade never touches the paint.
How Many Days Does PPF Installation Take?
Three variables set the time: the number of panels, whether parts need to be removed (headlights, badges, door handles taken off for edge wrapping) and the extent of surface preparation. Typical durations in Peak Detailing's studio plan:
| Scope | Panels covered | Time in studio |
|---|---|---|
| Bonnet package | Bonnet | Usually same day |
| Front end | Bonnet + front bumper + front wings + headlight surrounds | 2 days |
| Full body | All exterior painted surfaces | 2–3 days |
The exact delivery day is confirmed at the booking once the car has been seen; cars that need parts removed, or paint that needs heavy preparation, can take longer. Cutting time out of preparation or the curing wait comes back later as lifted edges and bubbles.
After Delivery: The First 30 Days
The film is bonded at delivery, but the adhesive takes days to reach its full bond with the paint. Residual moisture from the application solution evaporates out through the film. What you will see in this period, and what to do:
The first 48–72 hours
Small water pockets, slight haze and the odd bubble under the film are normal; XPEL states that these disappear on their own within 7–14 days as the adhesive cures, and that they should not be pressed on. The car is not washed: manufacturer care instructions ask for a minimum of 48 hours (XPEL) to 72 hours (3M) before the first wash.
Days 3–7
Water pockets and haze largely clear. SunTek asks for a minimum of 7 days before the first wash when the average daily temperature is below 13 °C (55 °F); Peak Detailing recommends not washing for the first 7 days regardless of season. Rain is not a problem; do not wipe with a dry cloth.
Weeks 2–4
The adhesive cures fully; any remaining moisture marks should be gone by the end of this period. If a bubble persists or an edge lifts, do not intervene yourself — contact the studio. Installation-related issues are covered by Peak Detailing's workmanship warranty.
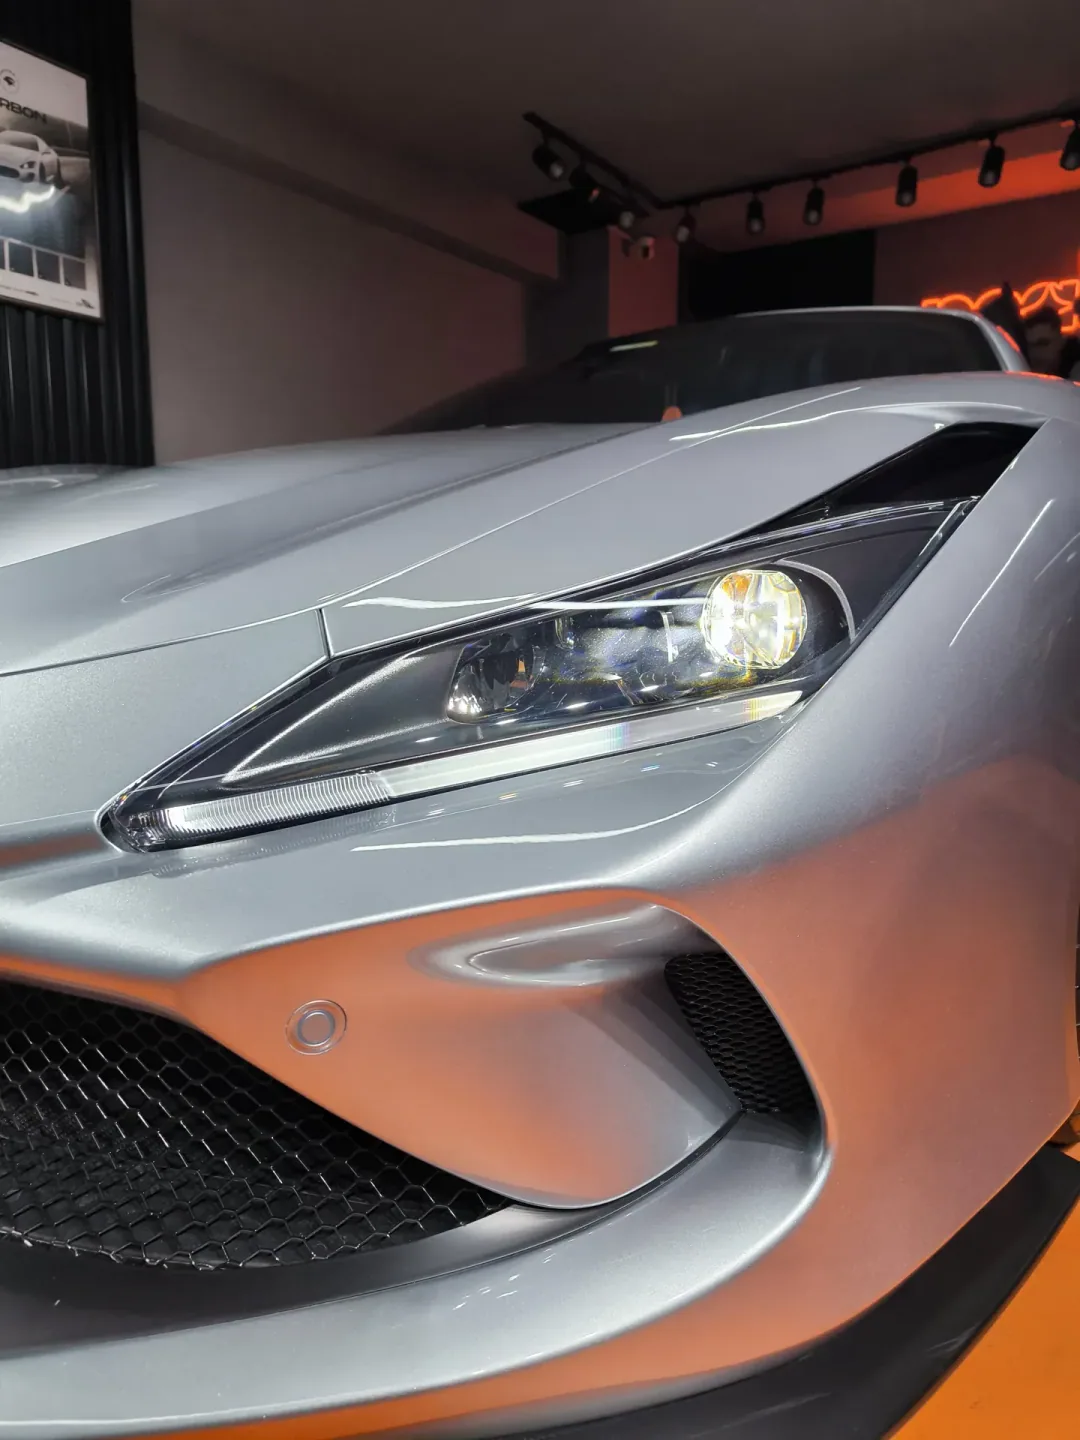
PPF Aftercare
Caring for PPF is not complicated; a handful of rules directly decide how long the film lasts.
- Hand wash with a pH-neutral shampoo; use soft microfibre, avoid abrasive compounds and aggressive chemicals.
- If you use a pressure washer, follow 3M's limits: a fan nozzle of at least 40°, a maximum of 80 bar (1,200 psi), water no hotter than 60 °C (140 °F), at least 30 cm (12 in) from the film and perpendicular to it. Do not aim close to, or at a shallow angle against, the edges; manufacturers warn this can lift the film.
- Keep the car out of automatic brush washes: 3M notes that brushes can scratch the film and lift edges; SunTek states that automatic and high-pressure washing can cause the film to lift.
- Remove bird droppings, insects and tree sap as soon as you notice them; acidic residue left for long can mark the top layer.
- The self-healing surface recovers everyday fine swirls with heat: according to XPEL, in 20–30 minutes at room temperature, faster with warm water. Deep cuts are not covered.
- On matte (MF+) film do not use polish, compound or gloss enhancers; they can leave glossy marks in the matte texture.
- Use only products suitable for PPF on the film; ORAGUARD® films already carry a hydrophobic top coat.
For the full washing routine and product choice, see the aftercare section of What is PPF?.
PPF in Istanbul: Why Is It Applied in a Booth?
Istanbul's summer heat, salty humidity and road grime from traffic make wet application in the open risky: dust gets trapped under the film, the solution dries too early on a hot panel, and bonding is delayed in the cold. That is why Peak Detailing applies PPF in its closed, climate-controlled, dust-free booth in Sarıyer, close to Maslak, Levent and the European side. Book a free inspection.
Frequently Asked Questions
How is PPF installed?
How many days does PPF installation take?
When can the car be washed after PPF installation?
Is it normal to see water and haze under the film?
Why is PPF applied in a booth — are there climate requirements?
Is matte PPF installed differently from gloss?
Sources
The sources below are the film manufacturer's processing instructions and technical data sheets, plus manufacturer care documents. Timing and care figures vary by product series and climate, so the care instructions handed over at delivery take precedence.
- ORAFOL Europe GmbH. Processing Instructions — ORAGUARD® Stone Guard Film (2021/22). orafol.com
- ORAFOL. ORAGUARD® PPF 2715 GF+ Technical Data Sheet (2025/31). oracalturkiye.com
- ORAFOL. ORAGUARD® 2815 GF+ Technical Data Sheet. orafol.com
- ORAFOL. ORAGUARD® PPF 2615 GF+ Technical Data Sheet (2025/5). orafol.com
- XPEL. Product Care Instructions. xpel.com
- XPEL. Design Access Program (DAP). xpel.com
- 3M. How To Protect Your Vehicle after Tinting, PPF or Wrapping — Product Care. 3m.com
- 3M. Protection Wrap Film Vehicle Maintenance FAQ (Rev. B, 2024). multimedia.3m.com
- SunTek (Eastman Performance Films). Paint Protection Film — Frequently Asked Questions. suntekfilms.com